


Summer is always an excellent season for home improvement or other maintenance projects around the house or business. In today’s post, we will sharehow to apply wood finish to our barn doors and wood products andwhy we recommend adding a wood finish coat to wood surfaces.

We are going to cover the following topics:
- What is a wood finish?
- Why use wood finishes?
- Osmo Wood Finishes
- How to apply wood finishes
Before we start, let's see how much you know about wood finishes with this quick quiz!
What is a wood finish?
In short, wood finish (or wood finishing) is the process of protecting and refining a wooden surface; it works like a wood conditioner. Wood finishes are commonly used on wood furniture and wooden surfaces in general. Additionally, applying a wood finish to wood products will make the body more resistant and make the wood more desirable and vibrant.
Why use wood finishes?
At RealCraft, we highly recommend adding a top coat of a suitable wood finish to your wood product.
The wood finish will enhance the wood surface appearance, add a layer of resistance, making the wood look fresh for longer. Additionally, wood finishes can protect against bacterias and mold, making the wood finish an essential step if you are thinking about a food handling surface.
Wood finishes are also capable of making an inexpensive wood specie look more refined and desirable (like a rare, more expensive, and difficult to obtain wood specie).
A wide variety of wood finishes is available on the market, and their functionality and applications vary. You can find specific finishes for indoors and outdoors applications, for example.
Osmo Wood Finishes
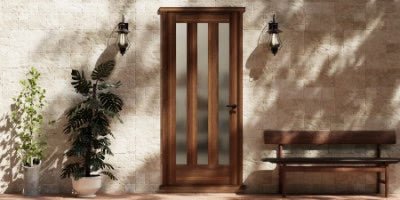
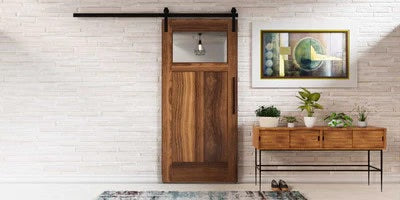
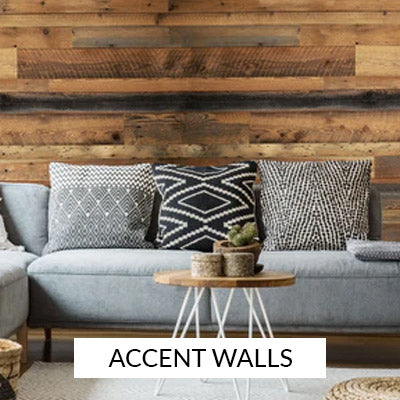
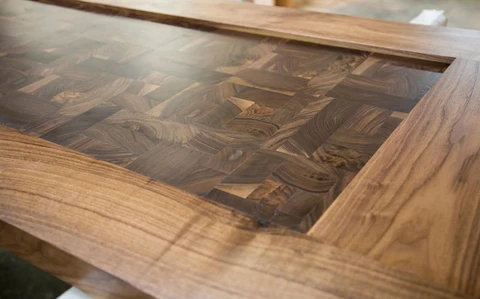
Osmo is our preferred wood finish for wood products like barn doors, countertops, wood track support header, or barn wood accent walls.
Osmo is a German brand that has been making wood finishes since 1964. Trusted by customers and companies around the globe, Osmo offers an incredible variety of options and colors.

Osmo products are environmentally friendly and based on rapidly renewable, natural oils, making their interaction with the wood look seamless and beautiful.
With a formula that penetrates the wood deeply while keeping it elastic and healthy and preventing it from becoming dry and brittle. Osmo wood finishes allow the wood to breathe while also making it water-resistant and easy to clean.
Finally, Osmo wood finishes will not only protect the wood but will also enhance the wood properties, colors and textures and will make your wood surface more desirable. Learn more about Osmo Wood Finishes.
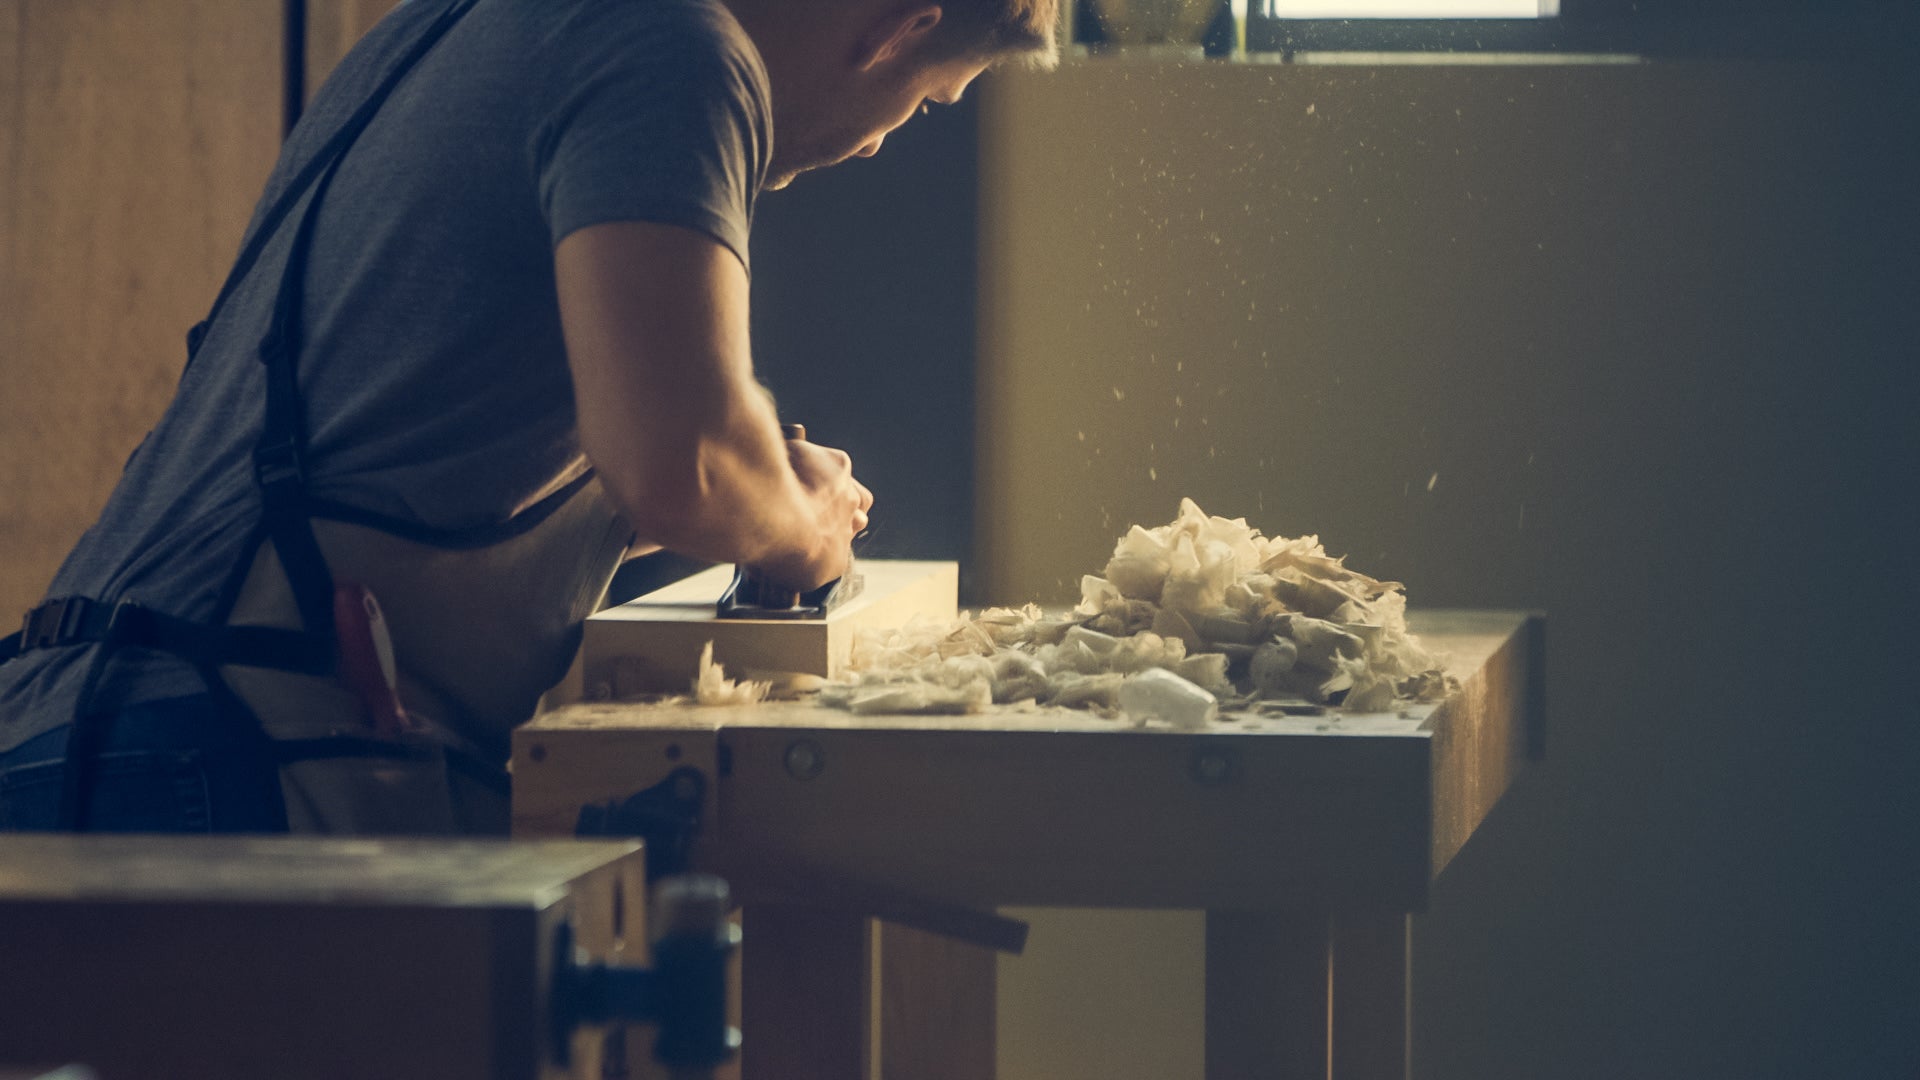
Now that we know a little bit more about wood finishes let’s take a look at how we finish our doors in 4 easy steps!

In this example, our specialist, Michael, will use Clear Satin Osmo Interior Polyx Oil Finish on a Sapele Mahogany wood barn door! The Clear Satin Oil will make the wood slightly shinier and alive, with an authentic look without making it look artificial.
INSERT SHOP BUTTON HERE.
Pro Tip:If you are doing this process for the first time, it’s good to add the finish to a small area on the surface first. This way, you can see how the wood will look before adding it to the entire surface.
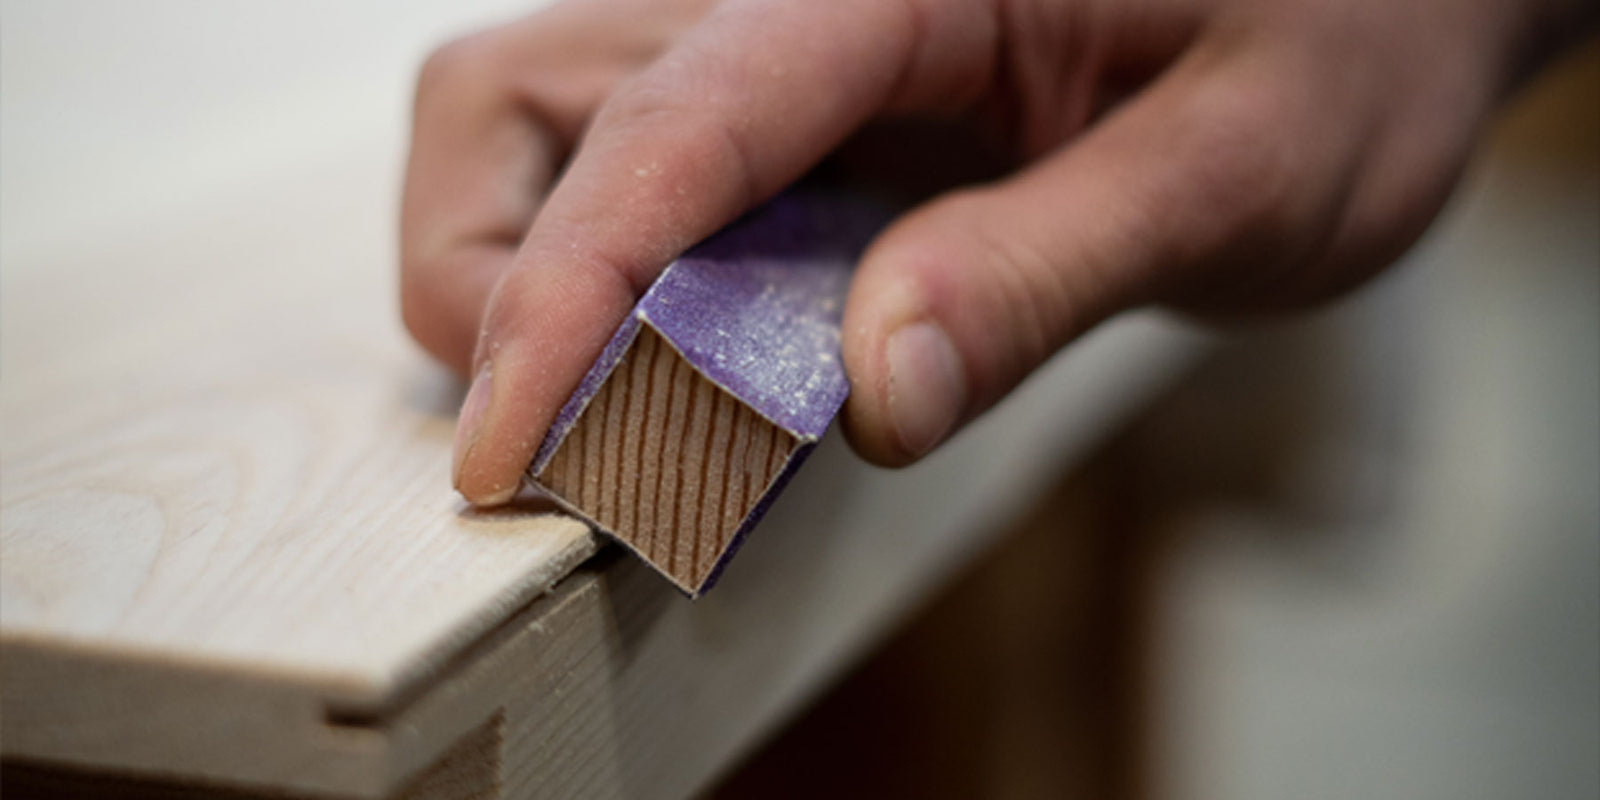
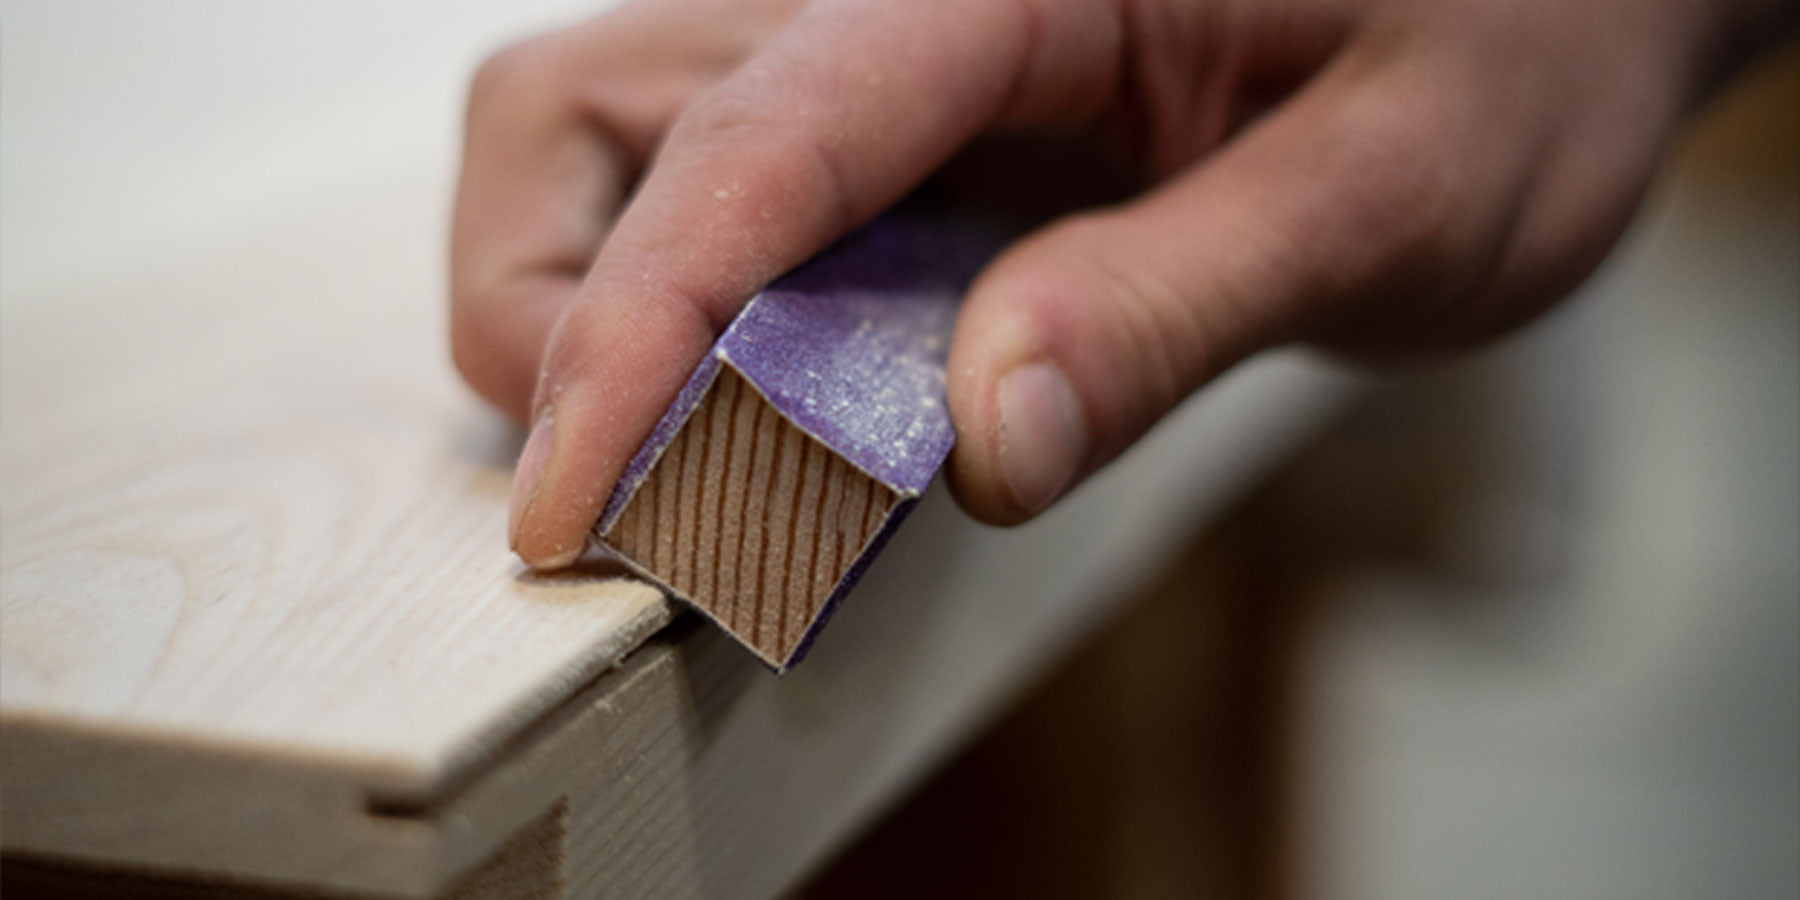
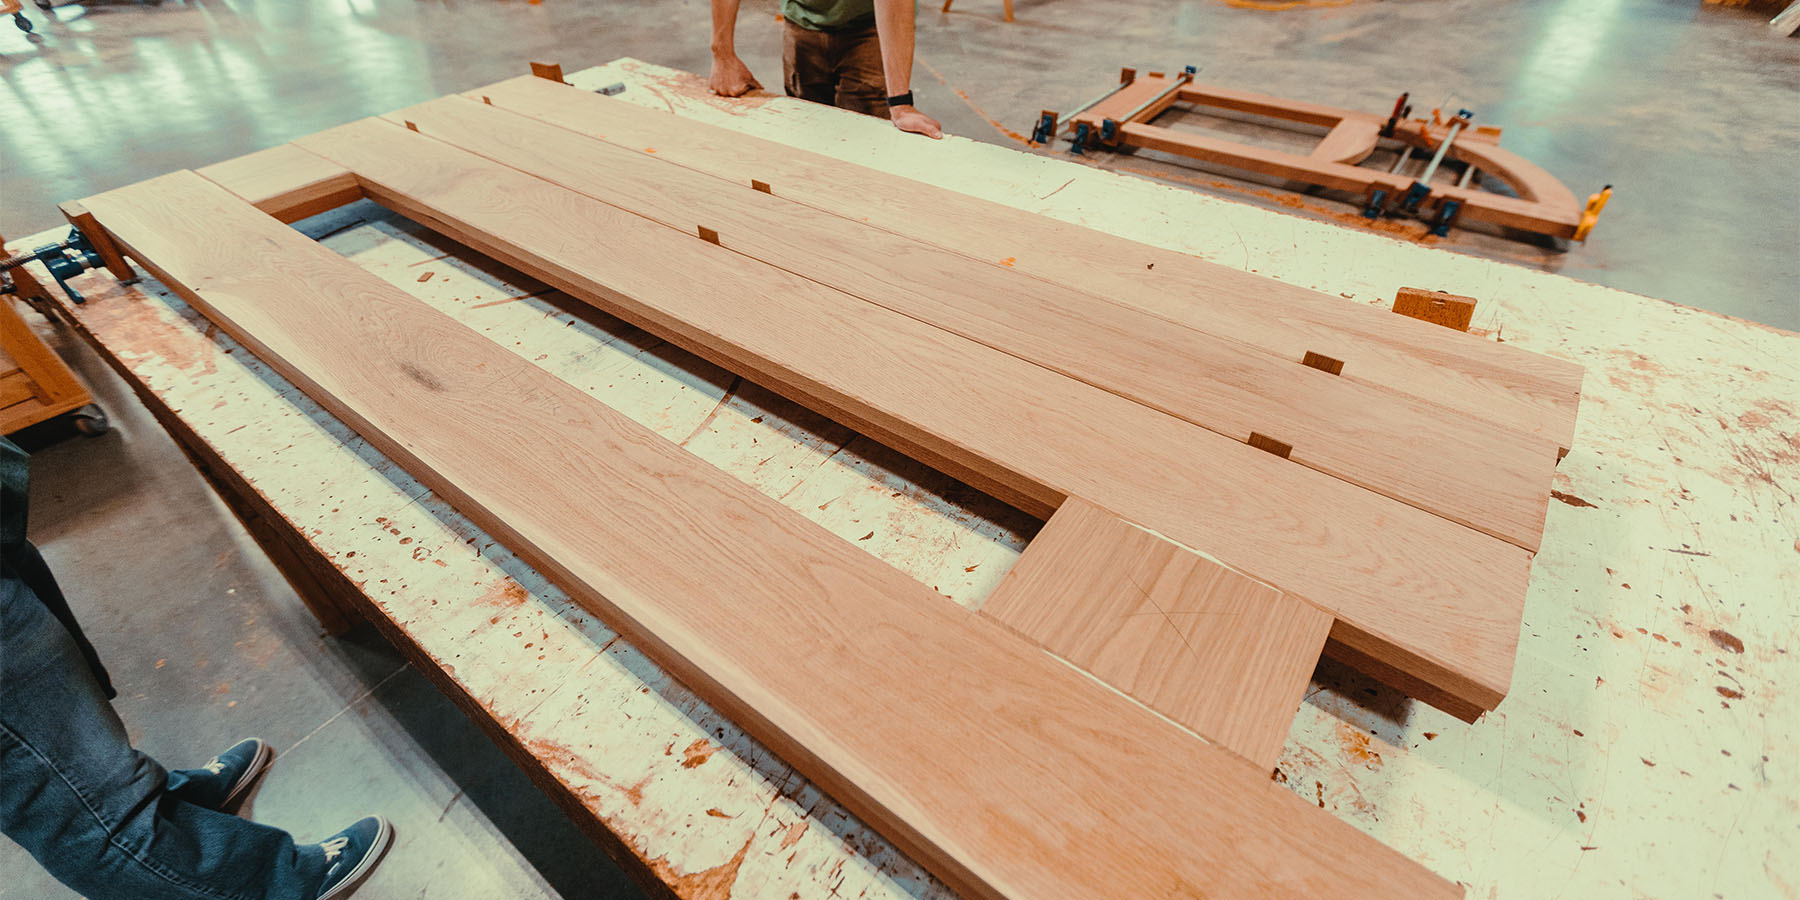
Step 1. Prepare the Wood

Before you start coating, make sure to prepare the wood by sanding it with grit sandpaper to make sure there are no scratches or imperfections.
Step 2. Add the wood finish solution to the surface!
Now things start getting fun! Start by adding the product to the bare wood surface. You can add the solution by pouring a small amount of the product to the surface. For small areas, you can go directly with a brush, microfiber roller, or soft cloth.
Important note:when applying the wood finish, it is recommended to do so on an area with air circulation. The airflow helps disperse the smell of the solution and will make the solution dry faster.
Step 3. Spread the solution evenly across the surface
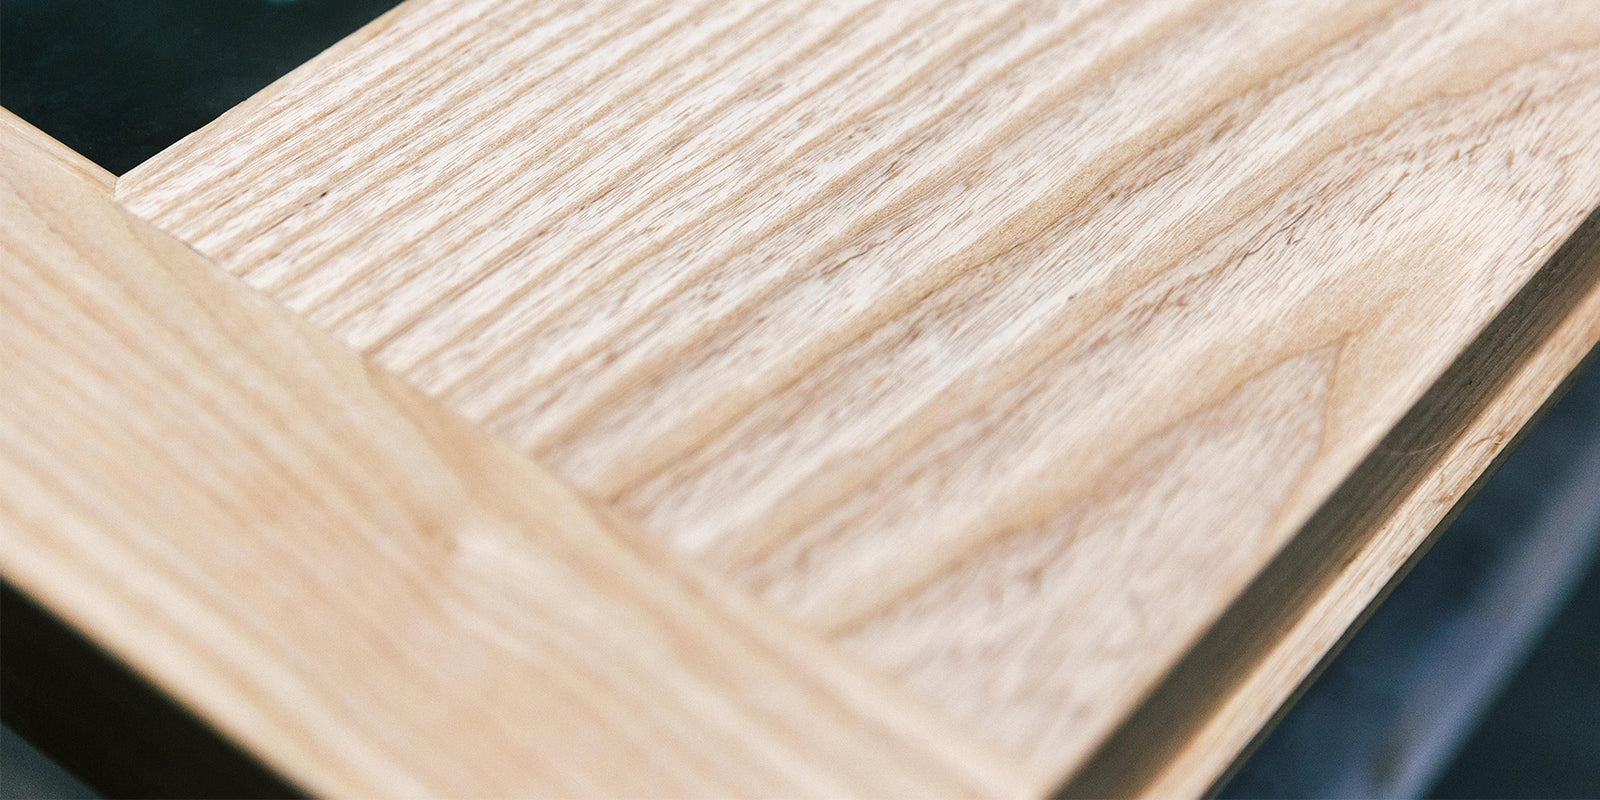
Okay, we have to take a second to appreciate how the finish changes how the wood looks. It brings it to life by emphasizing the grain of the wood! The process is also super satisfying to watch, isn’t it?

Michael is now using a roller to spread the wood oil evenly on the door’s surface. When applying the solution, ensure there are no empty spots on the body and no areas with too much solution.
Step 4. Let it dry!

Now that you finish applying the finish just step back, sit down and relax while the coat dries. We recommend letting it dry for 24 hours or until the solution is completely dry.
Depending on your project and wood finish brand choice, an extra finish cote might be needed. You might also want to retouch the wood by adding an extra coat every 3-5 years.
*Be sure always to follow the instructions provided by the finish manufacturer.
Watch the full application video below:

Leave a comment (all fields required)